Turn a Panel into a Soft Puzzle with Quilt As You Go Squares!
by Liz Gubernatis
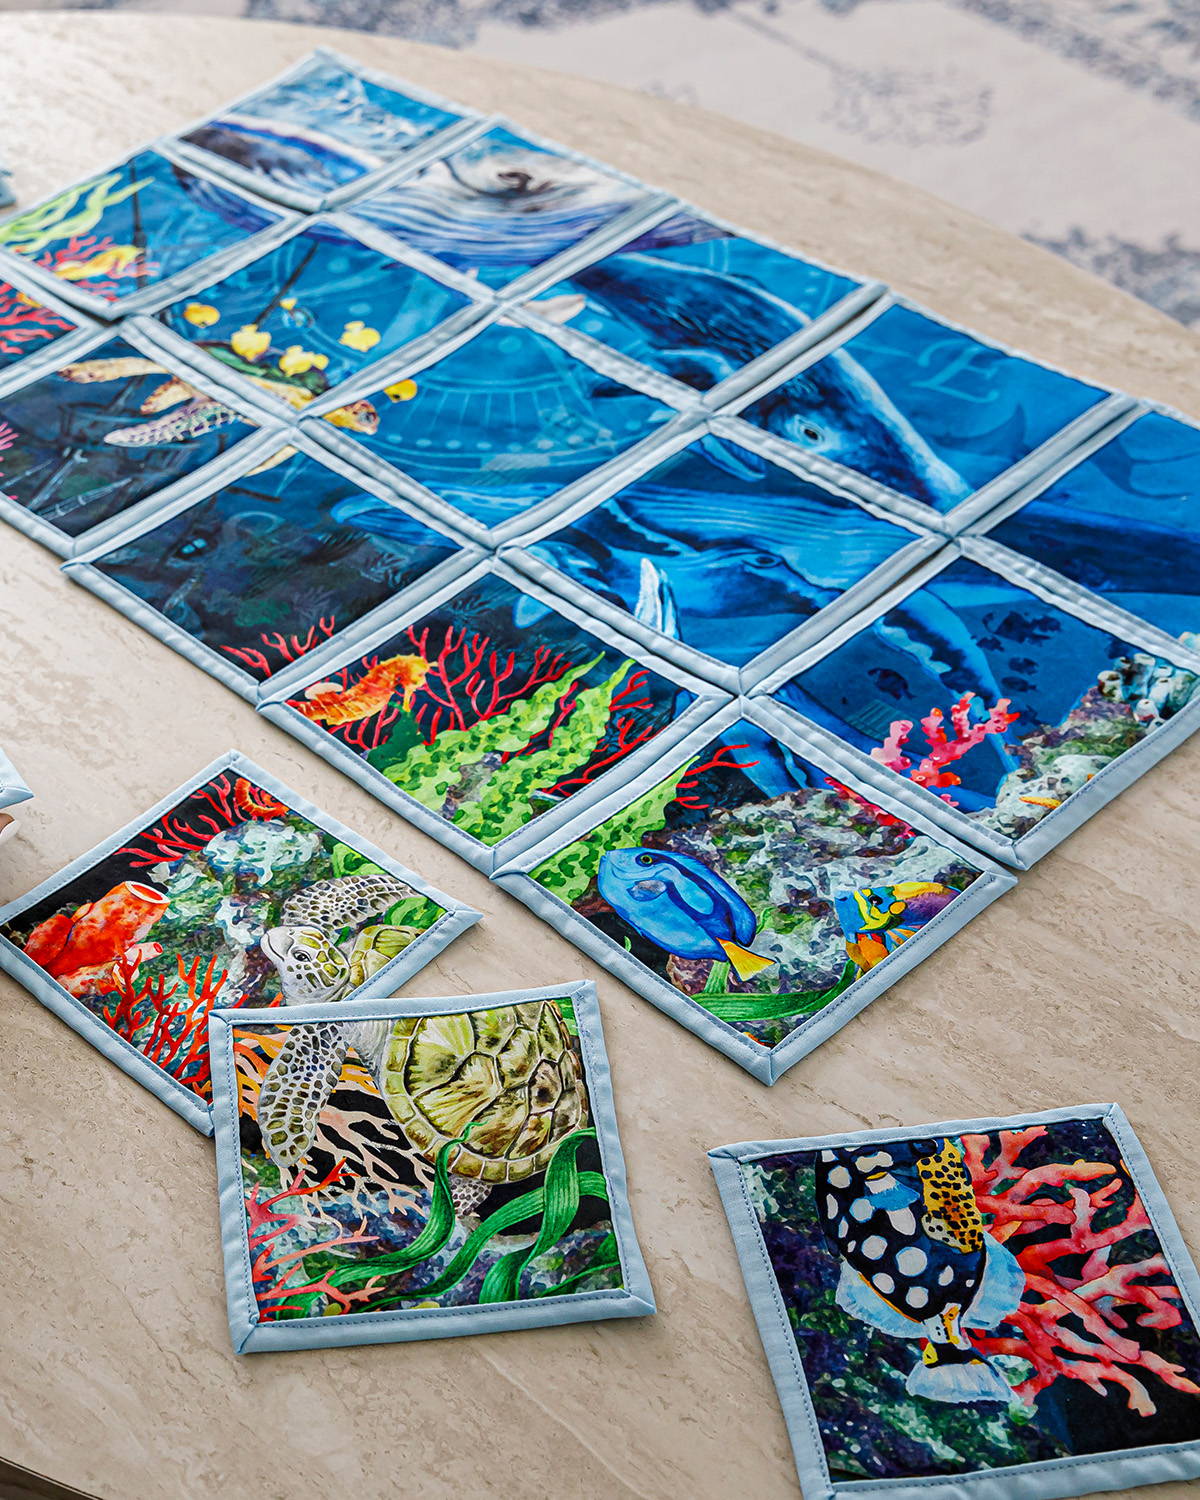
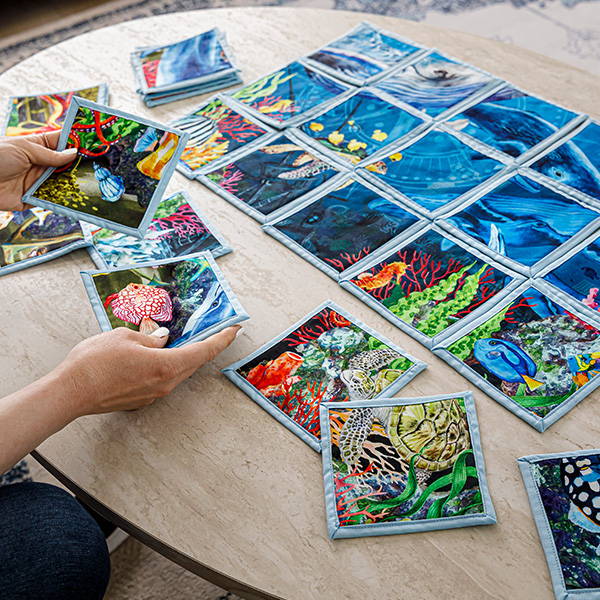
Do you love panels but don’t always know what to make with them? If you also love puzzles, we’ve got JUST the project to pair these two together! Using the Daisy & Grace 5” square template, we turned this bright panel into a soft puzzle. You’ll love how easy it is to make - and how fast it’s complete! Let this method inspire you to turn any panel into a soft puzzle you’ll love to play with!
Project Size: 25” x 30” for sample*
*Your panel puzzle will be in 5” increments using this method.
Supplies Needed
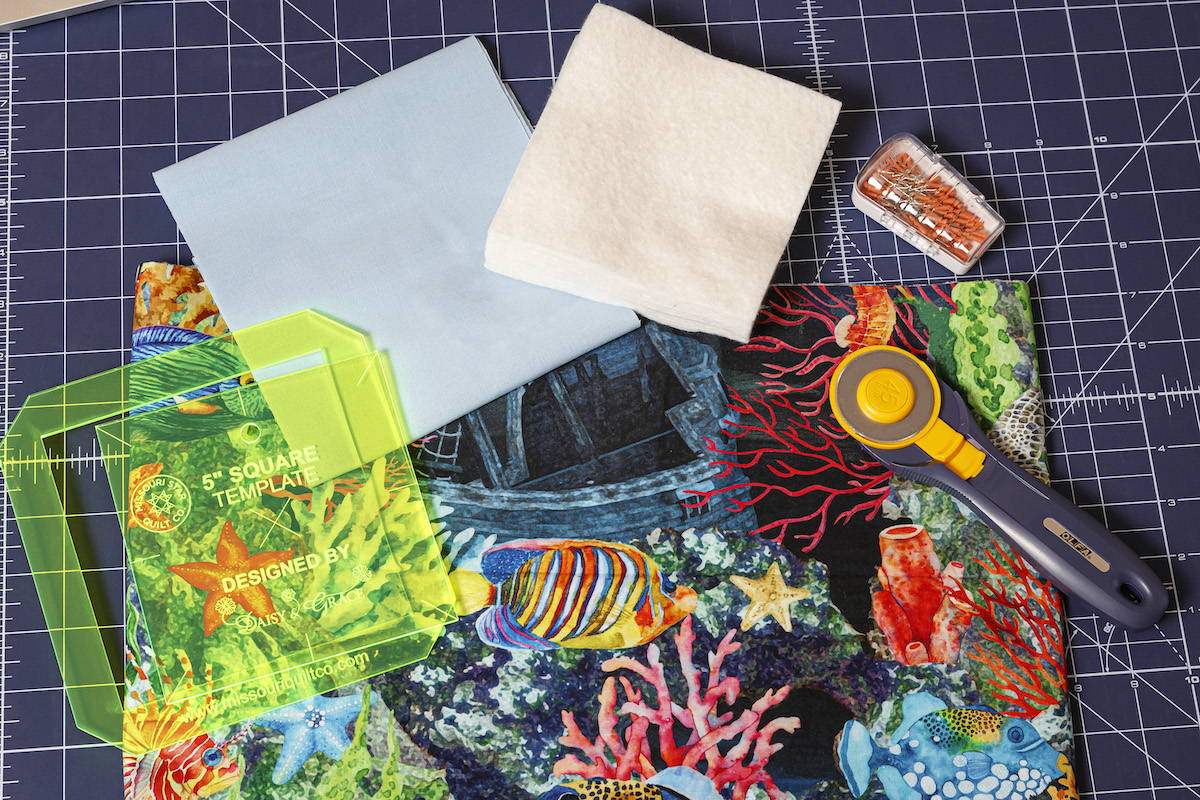
To make the panel puzzle, you’ll need a panel. We used this one, the Calypso II - Oceanlife Blue Panel from In the Beginning Fabrics.
You’ll also need a background. Our panel size meant we’d need about a yard of fabric. For our puzzle, we chose Kona - Spa Blue yardage
And to save time, we also used the precut batting for 5” squares
We chose a light blue thread, but you could use any color you like. We like to blend it into the background color. For this project, we used Missouri Star 50wt cotton thread in Paris Blue
Project Instructions
Cut
Step 1
Measure your panel dimensions and determine the best place to trim down your panel. You’ll want to make the final panel size divisible in both height and width by 5” - you’ll trim away some of the panel, in our case we took off the border and then some of the right side.
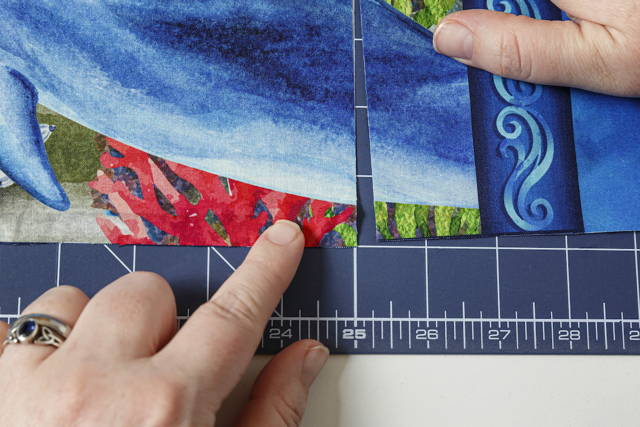
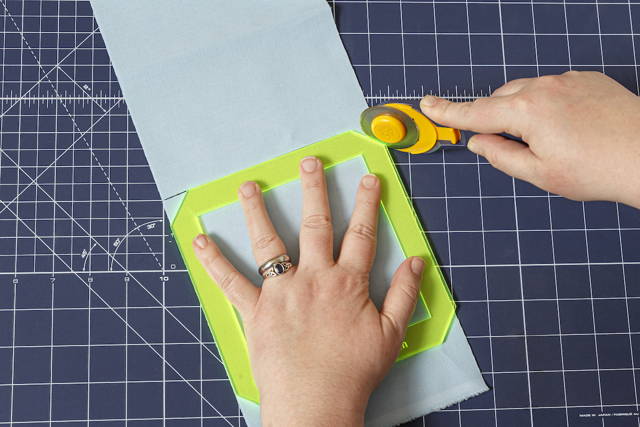
Cut the backing material into strips and then use the template to cut the square backing shapes from those strips. Follow the instructions on the Daisy & Grace template for sizes.
Pin & Stitch
Step 2
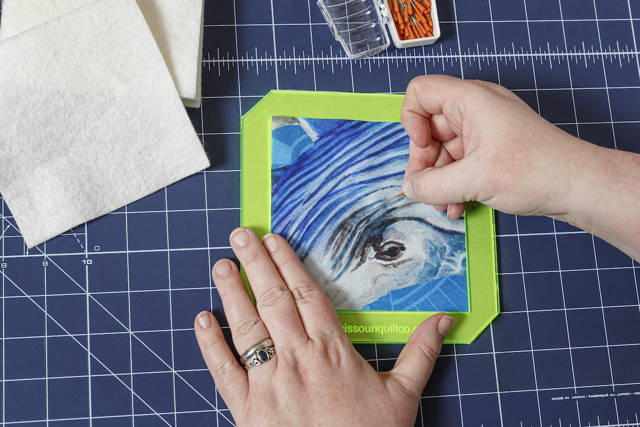
Using the frame of the template, stack a batting square and top square, centered on the backing square shape. Place a pin through the center to hold in place.
Step 3
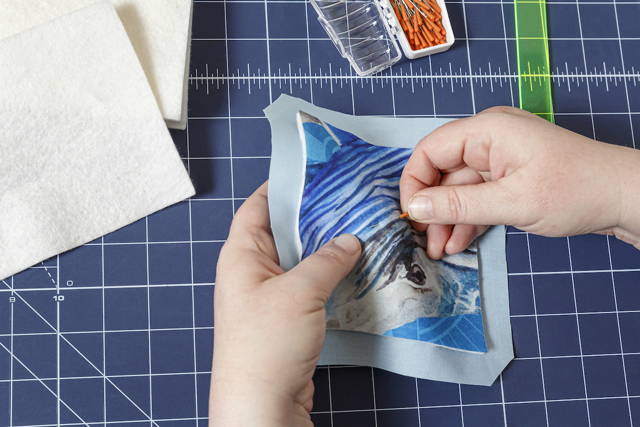
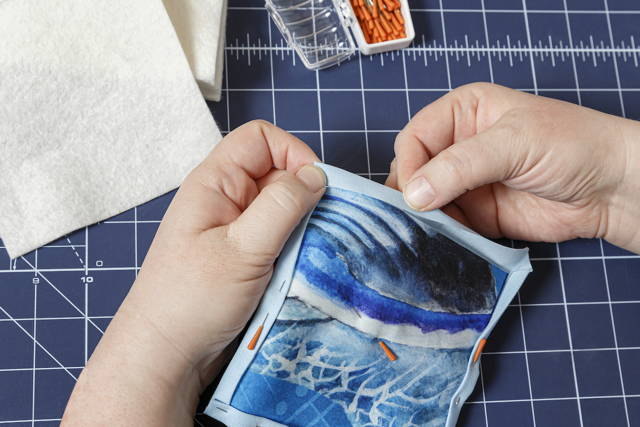
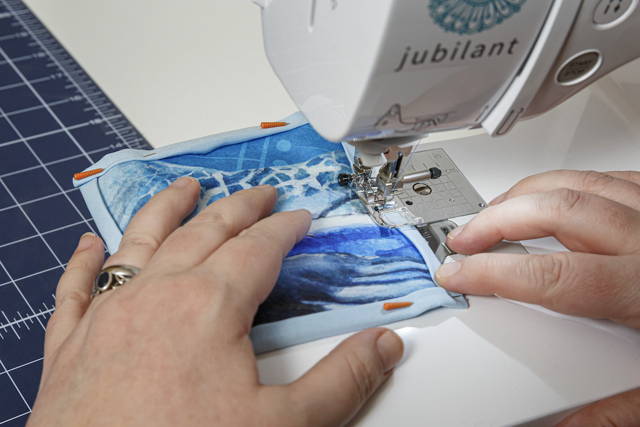
Fold edges over and pin in place to create finished edges around each square. This is how it looks as directed in the template instructions:
Step 4
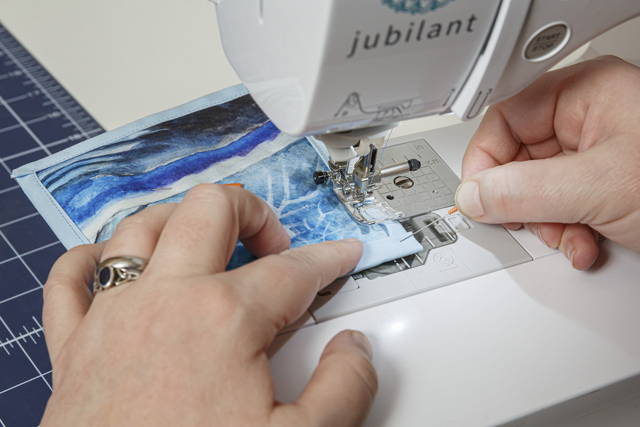
Stitch around the square to Quilt As You Go.
TIP: While turning corners, use a straight pin or stilletto to hold fabric in place without getting your fingers too close to the needle.
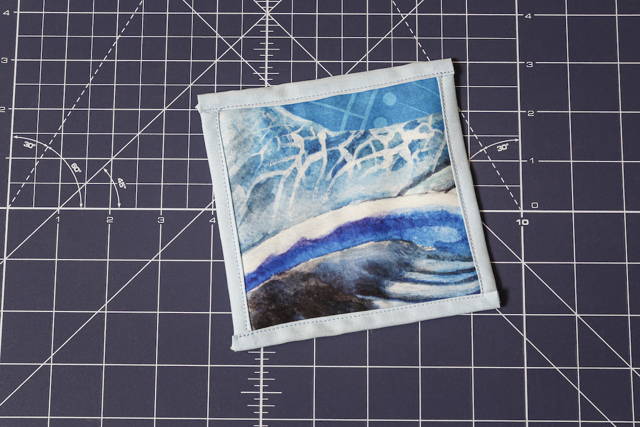
Here is the finished square.
Step 5
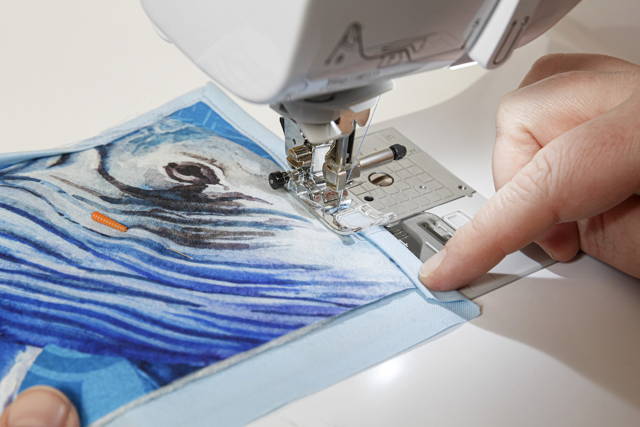
Alternatively, you can miter each corner as you stitch around the square. The miter method looks like this
Fold the corner.
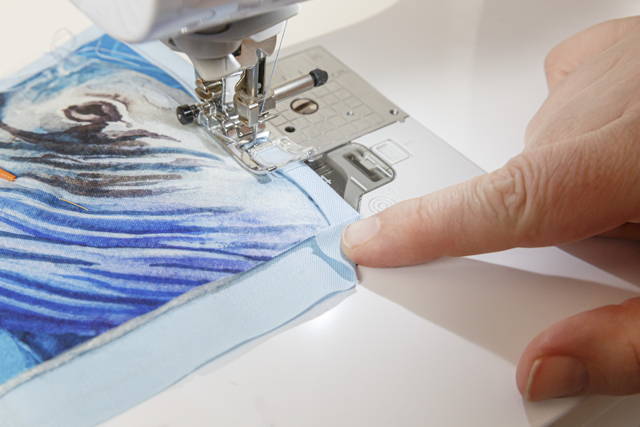
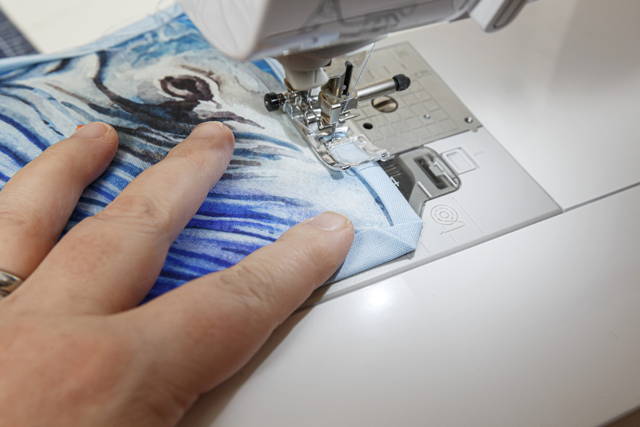
Fold the side up to meet the stacked fabrics.
Step 6
Fold again and corner will self-miter.
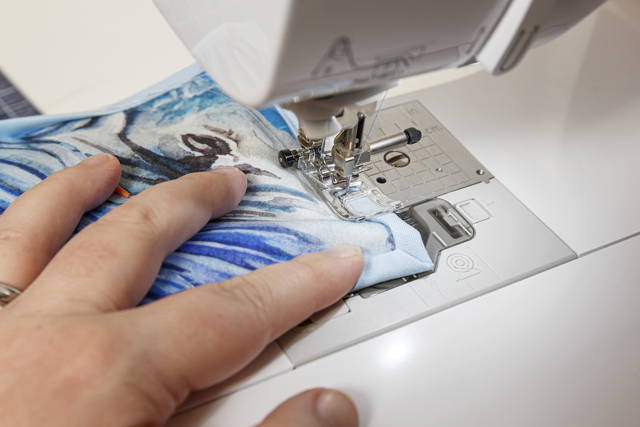
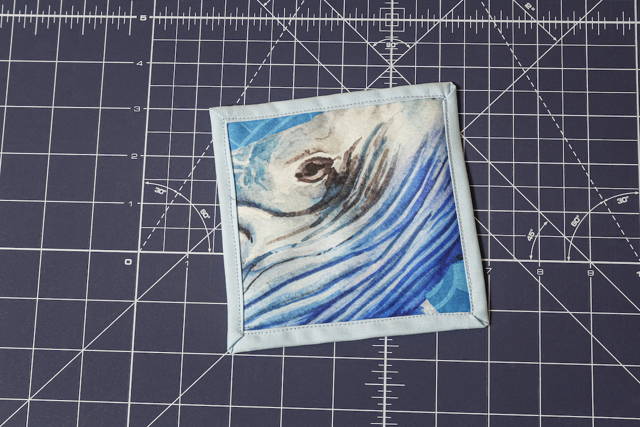
Finished square using this method looks like this:
Once you’ve made your stack of squares, you’re done! Now all your puzzle pieces are complete. You can stack them neatly or make a messy pile to puzzle out. Have fun playing with your soft puzzle. We can’t wait to see what panels you turn into puzzles! Show us yours using #msqcshowandtell.
