Stitch Up a Daisy & Grace Quilt as You Go Pen Organizer
by Liz Gubernatis
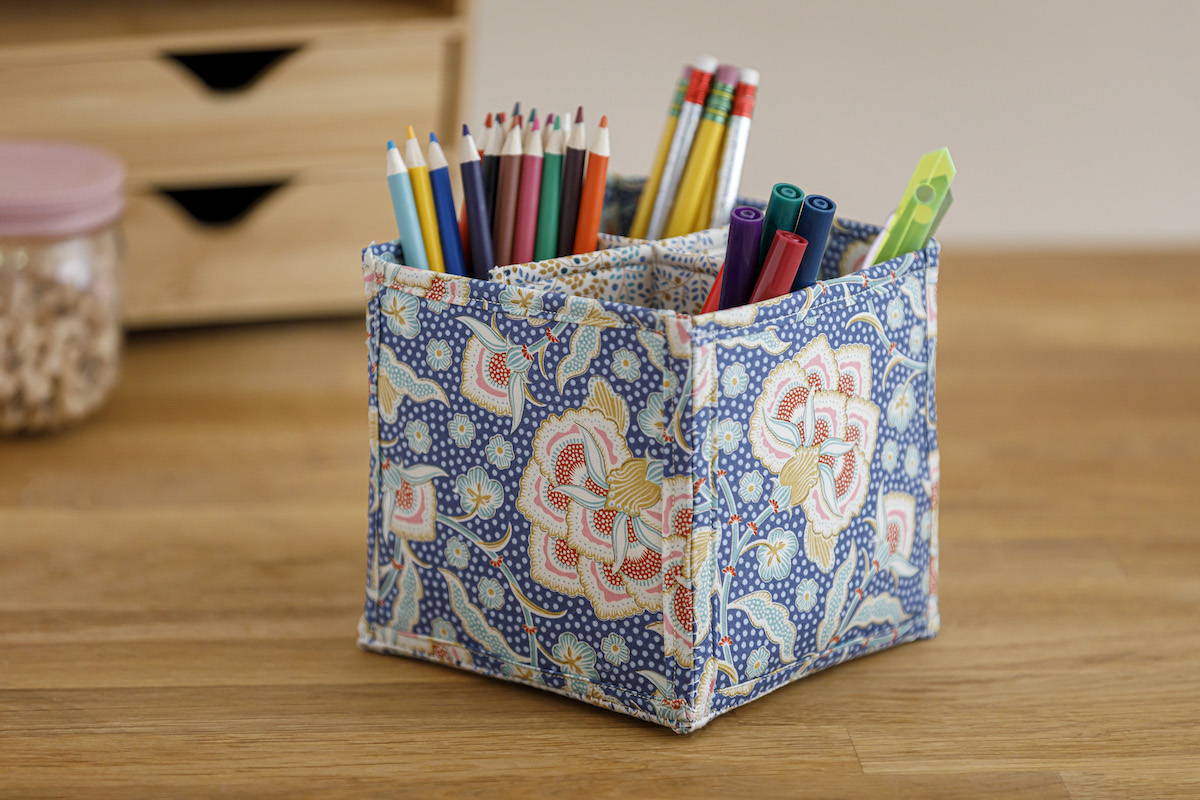
Just a few (ok, seven) quilt as you go squares from Daisy & Grace’s easy templates turn into a totally custom and completely beautiful pen organizer for your desk, table, or studio. This is a super fast and easy project and we LOVE the look of this spring floral to soften our space. What fabrics call out to you for fun, fabulous flair? Grab a pair of them to make this practical but pretty project in no time!
Project Size: Approximately 5” x 5” x 5"
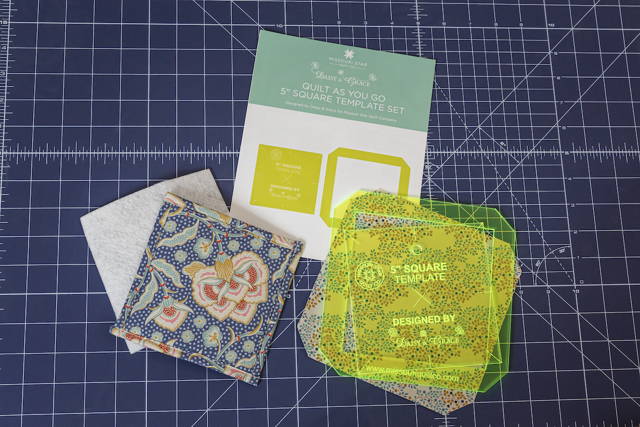
Supplies Needed
To make our pen organizer, we used 2 coordinating prints from the Tilda Fabrics Pie in the Sky fabric line.
We chose a white thread, but you could use any color you like. Our favorite thread for piecing is Missouri Star 50wt cotton thread in white.
To give our organizer a little more body, we also used Peltex fusible stabilizer. You’ll need about a ½ yard piece.
Project Instructions
Cut
Step 1
From the fabric for the 4 “walls” of the pen organizer, using the Daisy & Grace 5” square template, cut 4 outer, larger squares and 4 matching inner, smaller squares.
Repeat for the bottom and 2 inner “cross” pieces, in the coordinating fabric. You’ll need 3 outer, larger squares and 3 matching inner, smaller squares.
Cut (7) inner, smaller squares from the Peltex fusible stabilizer.. These are 5” squares.
Sew the Quilt as You Go Squares
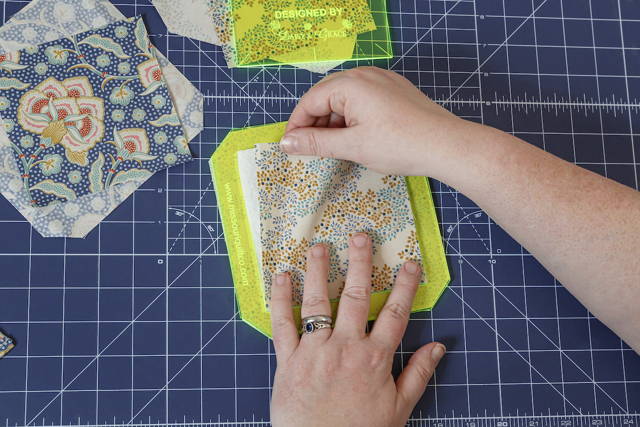
Step 2
Using the outside frame to center the stabilizer and inner squares, align the layers.
Step 3
Roll the frame ¼ inch and then again ¼ inch and pin or clip in place around the square. .
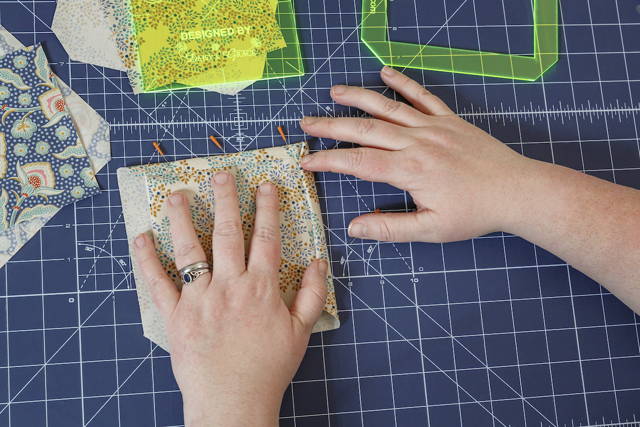
Step 4
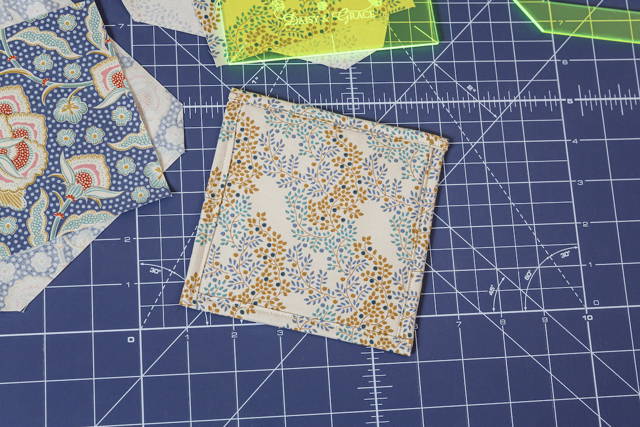
Stitch close the edge, securing the outer frame/fold to the inner square.
Tip: you can hand stitch or machine stitch, whichever you prefer.
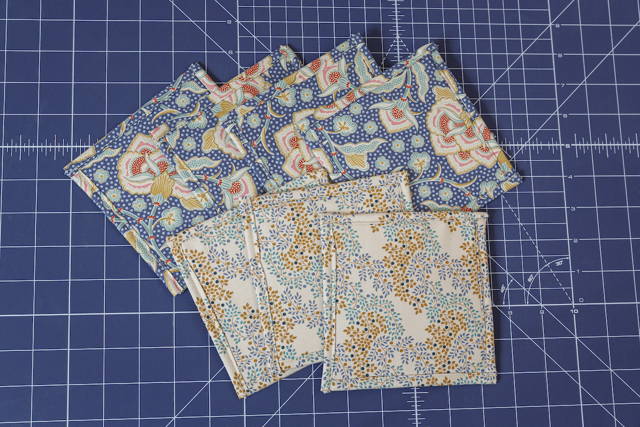
Step 5
Repeat for each of the 7 squares.
Layout and Assembly
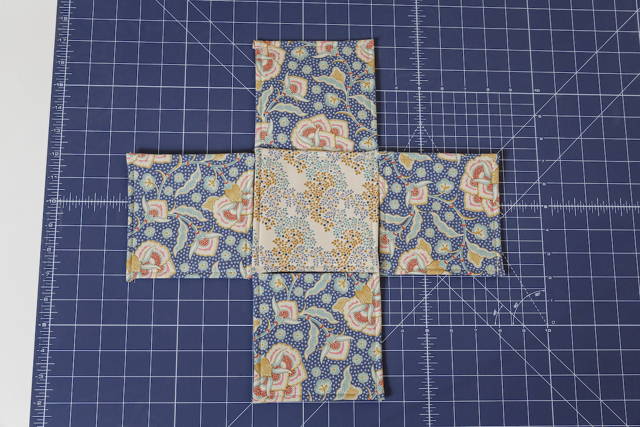
Step 6
Place the 4 "walls" around the bottom square as shown. Using a zig zag stitch sew along seams to form the outer box.
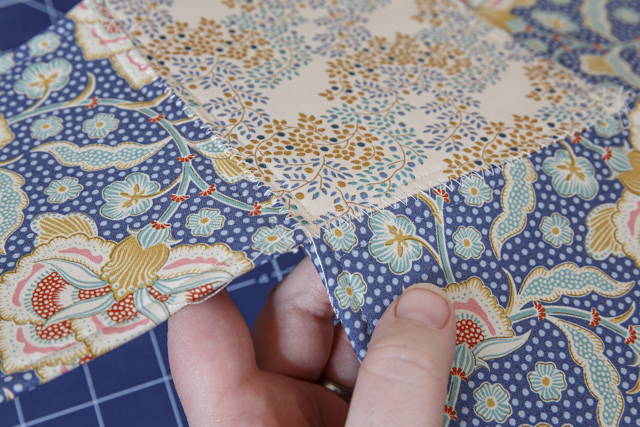
Tip: face all the QAYG squares the same direction, either all frames in or all frames out.
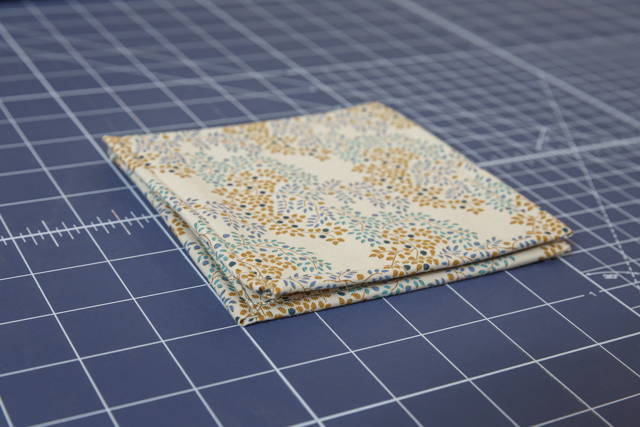
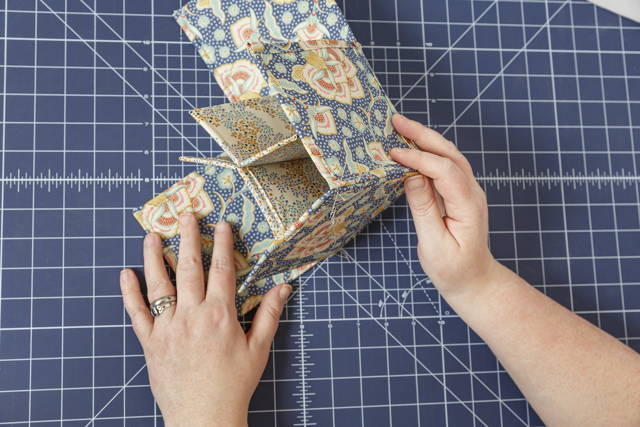
Step 7
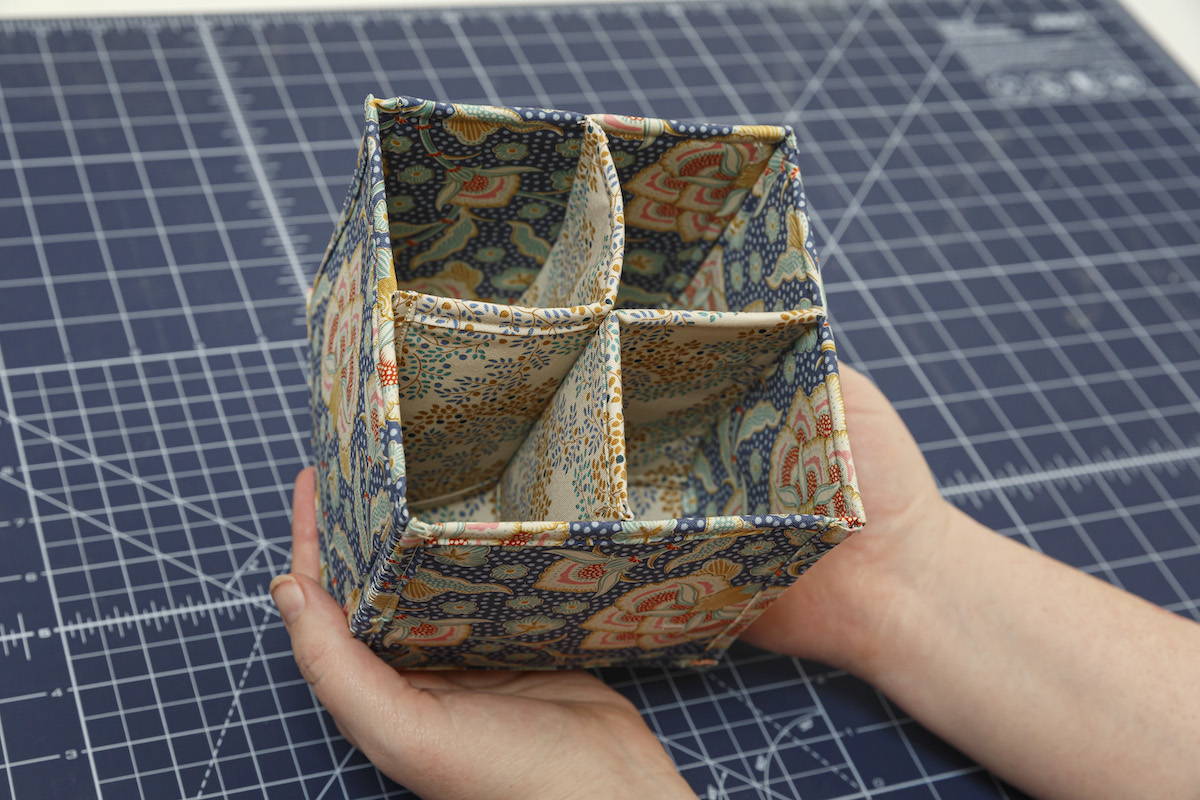
Stack the 2 remaining inner squares. Using a straight stitch, sew together in straight line down the center.
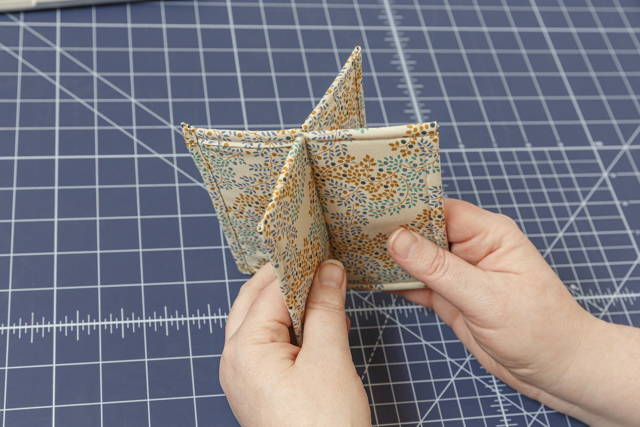
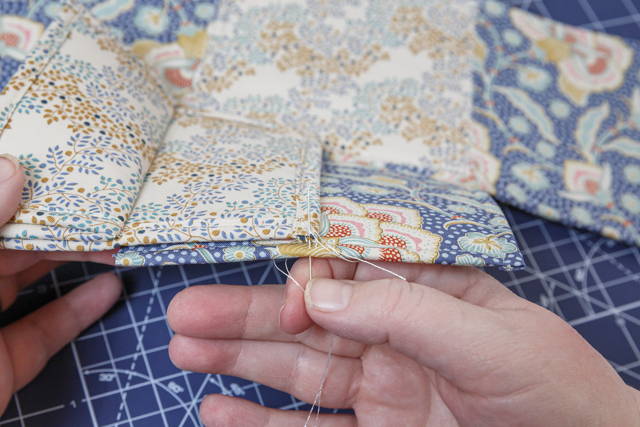
Step 8
Fold the inner box into cross shape and place one bottom corner in the center of bottom/wall seam on first side wall of organizer. Hand stitch with a few stitches to secure in place.
Step 9
Now fold that side up and align top. Hand stitch with a few stitches to secure.
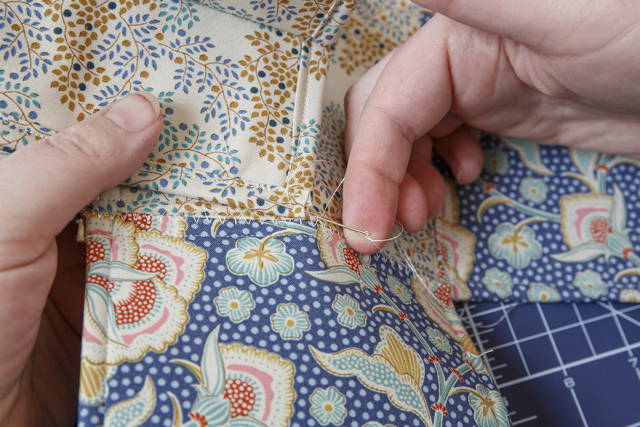
Step 10
Align two walls at top corner and hand stitch sides closed.
Tip: Always start from the top, any imperfections will ease in as you stitch down to bottom corner.
Repeat at each wall and corner to complete your pen organizer.
That's all there is to it! Add pens, pencils, markers, or makeup brushes, forks and spoons on buffet or picnic table - lots of possibilities for this pretty, practical project!